
No products
Product successfully added to your shopping cart
There are 0 items in your cart. There is 1 item in your cart.
Modeling tools and accessories
- Types of games
- Accessories
- RPG
-
Trading Cards
- Living Card Game (LCG)
-
Trading Card Game (TCG)
- Cardfight!! Vanguard TCG
- Cyberpunk TCG
- Digimon TCG
- Dragon Ball TCG
- Final Fantasy TCG
- Flesh & Blood TCG
- Force of Will TCG
- Hololive Official Card Game
- Lorcana Disney TCG
- Magic the Gathering
- Gundam TCG
- My Hero Academia: The Card Game
- One Piece TCG
- Palworld
- Pokémon TCG
- Shadowverse Evolve
- Star Wars: Unlimited TCG
- Yu-Gi-Oh! TCG
- Vampire: The Eternal Struggle TCG
- Weiß Schwarz
- Wixoss
-
Miniatures (WarGames)
- Aristeia!
- Armada
- Batman Miniatures Game
- Song of Ice and Fire
- Conquest - The Last Argument Of Kings
- DC Universe Miniature Game
- Deadzone
- Dystopian Wars
- Scenography
- Fallout: Wasteland Warfare
- Firefight
- Flames Of War
- Freebooter's Fate
- Frostgrave
- Harry Potter Miniatures Adventure Games
- Heroclix
- Infinity
- Kensei
- Kings of War
- Marvel Crisis Protocol
- Ninja All-Stars
- Pathfinder Battles
- Punkapocalyptic
- Relic Knights
- Skytear
- Starfinder Miniatures
- Star Wars: Imperial Assault
- Star Wars Legion
- Star Wars Shatterpoint
- Star Wars: X-Wing
- The Drowned Earth
- The Elder Scrolls
- The Path of the Adventurers
- The Walking Dead: All Out War
- Warlord Games
- Warmonger
- Warpath
- Wild West Exodus
- WizKids
- Wolsung
- World Of Tanks
- World War III
- Wyrd Malifaux
- Collectibles
- Manga
- SUPER DEALS!
 View larger
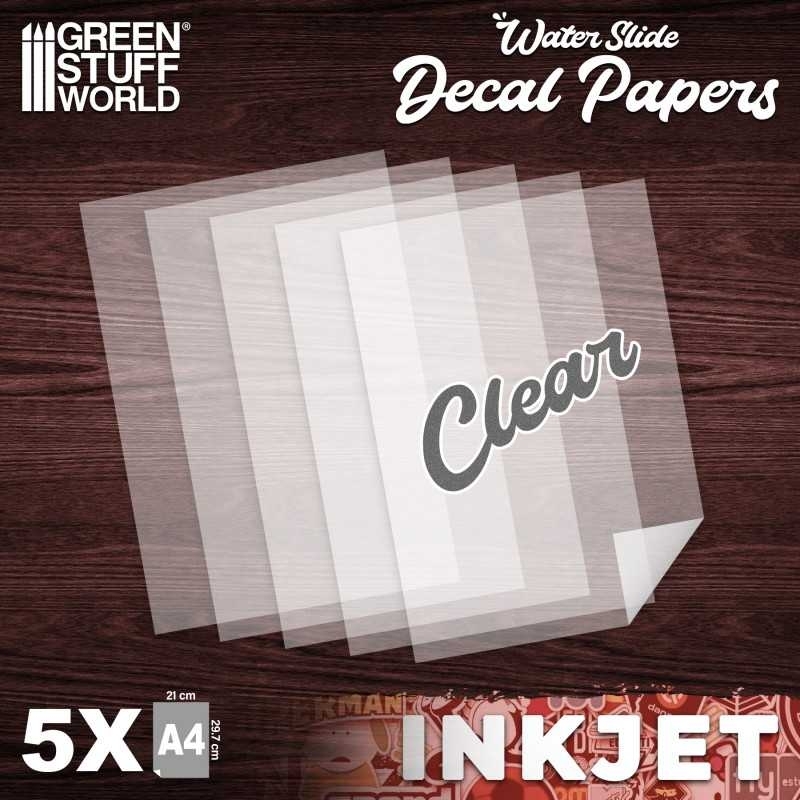
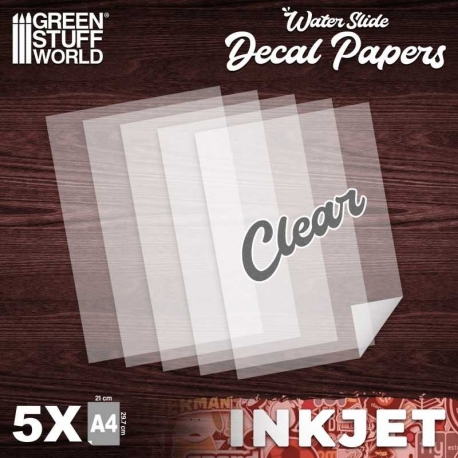
Water decals - Transparent inkjet
ENVÍO EN 8-10 DÍAS*
8436574505658ES
8436574505658
By buying this product you can collect up to 1 loyalty point. Your cart will total 1 point that can be converted into a voucher of 0,10 €.
More info
Water-Based Decals
Create your own decals using your printer with our decal paper. The decals should be applied with water; no solvent is required. You can also use a little GSW Decal Softener and GSW Decal Fixative to enhance and protect the finish on uneven or rough surfaces.
Sheets: 5 decal sheets per set
Size: 210 x 297mm (A4)
Decal Thickness: 13~14 microns
Use a computer to create your designs or artwork. Because photocopiers and printers cannot print in white, they will always rely on the color of the paper itself to provide the white component for your lettering or designs. To make a decal with this color, you will need to use white decal paper, or paint or lighten the area where you want to place the decal.
INSTRUCTIONS FOR DECAL PREPARATION
Choose the appropriate paper type according to your printer type, inkjet or laser. Remove any protective film that may be present on the packaging and print your design directly onto the glossy side of the decal paper. For inkjet printing, we recommend using the "photo paper" setting if your printer software allows this option. For laser printing, we recommend using the "transparency paper" setting if your printer software supports this option. In all cases, you should immediately apply a few thin coats of gloss or matte varnish spray to seal the printed image onto the decal paper. This will prevent the ink from smudging, washing away, or cracking during application.
DECAL APPLICATION INSTRUCTIONS
1. Cut out the decal as close as possible to the outer edge of the image. For best results, we recommend using a new blade.
2. Pick up the decal with Use tweezers to remove the decal and let it soak in water for about 20 seconds. Using warm water can help with this process.
3. Apply the decal to your model using a brush to gently push it off the transfer paper and place it on your model. That's all, folks!
APPLICATION TIPS
- Before applying it to your model, once the decal has soaked long enough, apply a little GSW Decal Fixer to the surface where you plan to place the decal. GSW Decal Fixer will prime the area, leaving a smooth finish that will help prevent and conceal the decal's outline, as well as protect the painted area underneath. If you find it difficult to move the decal around on your model to get it in the exact position, you can add a little more GSW Decal Fixer or just water, which will help the decal float on the surface until it can be properly positioned.
- If the surface where you want to apply the decal is flat and Curved surfaces, such as a shoulder pad, can cause wrinkles to form in the decal. To prevent this, once the decal is in place, apply GSW Decal Softener. Let the decal softener work, removing the wrinkles and conforming the decal to the surface underneath. Repeat this step 2-3 times until the wrinkles are completely gone. Remove any excess liquid using a cotton swab. Roll the swab over the decal to prevent it from lifting or shifting. Alternatively, you can use absorbent paper to press down on the decal with a rolling motion, removing any remaining liquid. When using GSW Decal Softener, you won't need to make any adjustment cuts in the decal to remove wrinkles. Finally, apply GSW Decal Fixer again to the decal and the model surface you've been working on to unify the surface. Add matte or gloss varnish if you feel it's necessary to remove or add a glossy finish.
NOTICE:
INKJET decal paper can be printed with both laser and inkjet printers. However, LASERJET custom decal paper can only be printed with laser printers.
"30 other products in the same category:
-
Long Grass...
4,90 €
-
Broken tree...
4,90 €
-
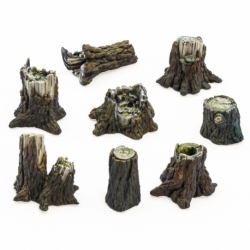
Medium-size...
4,90 €
-
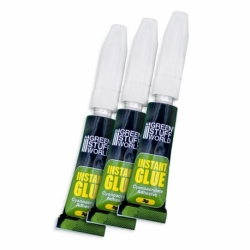
Cyanoacryla...
4,90 €
-
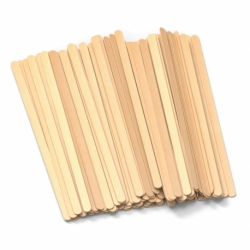
5mm Birch...
4,90 €
-
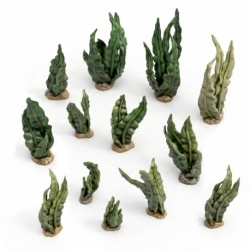
Wavy...
4,90 €
-
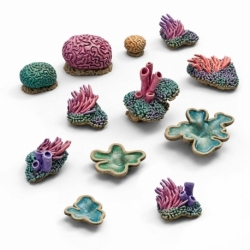
Coral Reef...
4,90 €
-
ABS...
4,90 €
-
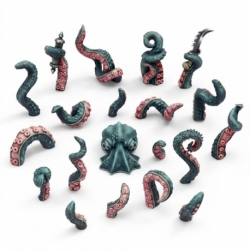
Kraken...
5,90 €
-
Plates of...
5,90 €
-
Clear...
5,90 €
-
Transparent...
5,90 €
-
Silicone...
5,90 €
-
Crystal...
5,90 €
-
Broken...
5,90 €
-
DM Bases -...
6,90 €
-
DM Bases -...
6,90 €
-
Broken...
5,90 €
-
DM Bases -...
7,90 €
-
Compact...
8,90 €
-
Broken...
5,90 €
-
Texturizing...
9,90 €
-
Deep Strike...
6,90 €
-
Half module...
10,90 €
-

Deep Strike...
6,90 €
-
Sculpey...
12,90 €
-
Slow-settin...
6,90 €
-
Hollow...
12,90 €
-
Watermarks...
9,90 €
-
Empty...
13,90 €
