
No products
Product successfully added to your shopping cart
There are 0 items in your cart. There is 1 item in your cart.
Scenography
- Types of games
- Accessories
- RPG
- Trading Cards
- Living Card Game (LCG)
- Trading Card Game (TCG)
- Cardfight!! Vanguard TCG
- Cyberpunk TCG
- Digimon TCG
- Dragon Ball TCG
- Final Fantasy TCG
- Flesh & Blood TCG
- Force of Will TCG
- Hololive Official Card Game
- Lorcana Disney TCG
- Magic the Gathering
- Gundam TCG
- My Hero Academia: The Card Game
- One Piece TCG
- Palworld
- Pokémon TCG
- Shadowverse Evolve
- Star Wars: Unlimited TCG
- Yu-Gi-Oh! TCG
- Vampire: The Eternal Struggle TCG
- Weiß Schwarz
- Wixoss
- Miniatures (WarGames)
- Aristeia!
- Armada
- Batman Miniatures Game
- Song of Ice and Fire
- Conquest - The Last Argument Of Kings
- DC Universe Miniature Game
- Deadzone
- Dystopian Wars
- Scenography
- Fallout: Wasteland Warfare
- Firefight
- Flames Of War
- Freebooter's Fate
- Frostgrave
- Harry Potter Miniatures Adventure Games
- Heroclix
- Infinity
- Kensei
- Kings of War
- Marvel Crisis Protocol
- Ninja All-Stars
- Pathfinder Battles
- Punkapocalyptic
- Relic Knights
- Skytear
- Starfinder Miniatures
- Star Wars: Imperial Assault
- Star Wars Legion
- Star Wars Shatterpoint
- Star Wars: X-Wing
- The Drowned Earth
- The Elder Scrolls
- The Path of the Adventurers
- The Walking Dead: All Out War
- Warlord Games
- Warmonger
- Warpath
- Wild West Exodus
- WizKids
- Wolsung
- World Of Tanks
- World War III
- Wyrd Malifaux
- Collectibles
- Manga
- SUPER DEALS!
 View larger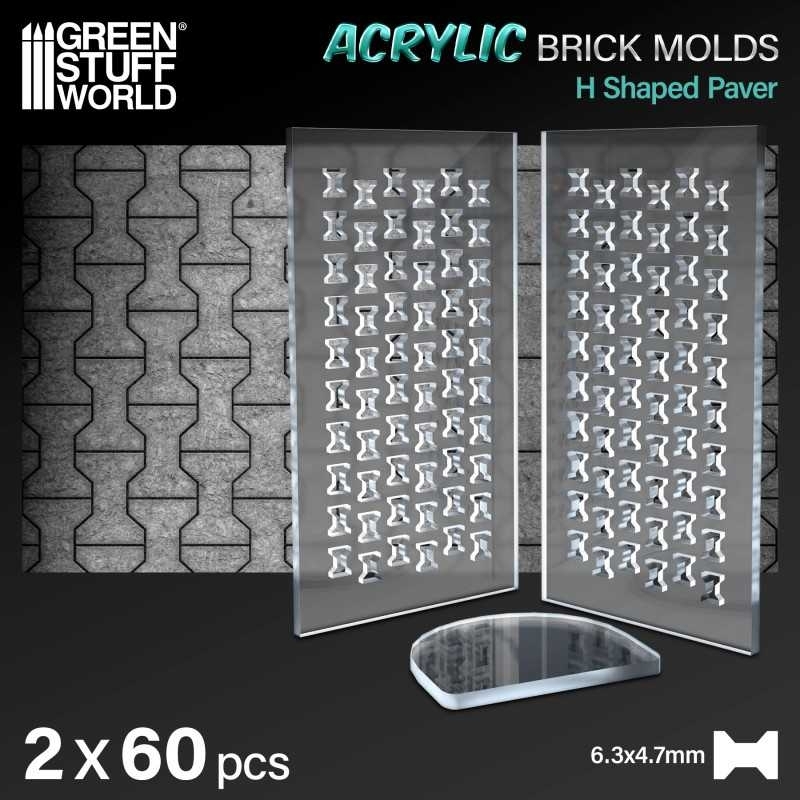
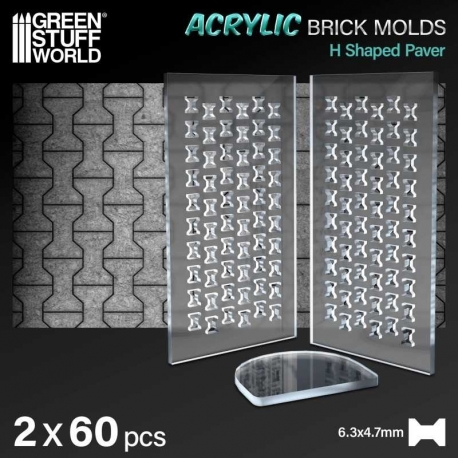
Acrylic Molds - H Shaped Paver
ENVÍO EN 8-10 DÍAS*
8435646520643ES
8435646520643
By buying this product you can collect up to 1 loyalty point. Your cart will total 1 point that can be converted into a voucher of 0,10 €.
More info
Acrylic Molds for H-Shaped Paver Modeling
Our acrylic modeling molds are perfectly complemented by air-dry clays such as DAS Clay, foam clay, and similar products. These options guarantee a faithful and detailed reproduction of your dioramas.
Instructions for Use:
- Prepare the mold: Make sure the acrylic brick mold is clean and dry. Ensure it is free of any debris or dust.
- Line one side of the mold to hold the pieces in place. You can do this with parchment paper, damp parchment paper, mylar plastic, or even airbrush tape.
- Place the mold on a flat surface: Find a flat, stable surface where you can work comfortably. Place the mold with the paper facing down to prevent sticking.
- Add air-dry clay: Take a ball of air-dry clay and place it on top of the mold. Use your fingers to gently press and work the clay into the mold cavities. Make sure to completely fill each brick cavity. You may need to adjust the amount of clay to achieve your desired brick size and thickness.
- Level the surface: Use the included plastic spatula or the edge of another mold to drag or scrape the surface of the mold and remove any excess clay. This will ensure a smooth, even surface.
- Let it dry: Allow the clay to dry completely. Air-dry clay has a small degree of shrinkage as it dries, which will help the pieces release from the mold.
- Remove the paper: Once the clay is completely dry, carefully peel off the paper tape from the back of the mold. This will help release the hobby bricks.
- Remove the pieces: Use a blunt stick (such as the back of a paintbrush) to gently push the individual bricks out of the mold. Be careful not to apply too much pressure, as you don't want to damage the delicate acrylic mold.
- Smooth the edges: To give your bricks a more realistic look and remove any sharp edges, gently rub small amounts of them between the palms of your hands. This will smooth the edges and make the bricks look more like real bricks.
- Use the bricks: You can now use the air-dried clay bricks for your crafts or building projects. We recommend gluing the pieces together with white glue or an acrylic sealant such as Decoupage Medium to secure them.
Remember to handle the acrylic mold with care, as it is not as flexible as silicone or rubber molds and can break if bent.
With our acrylic molds, your dioramas will come to life with authentic and captivating details. Unleash your creativity and build sets that tell stories on their own! Take your projects to the next level of excellence with this essential accessory for high-quality diorama enthusiasts.
Quantity: 2x pack
Scale: 1:35 (1:48-1:32)
Piece thickness: 3 mm
Brick size: 4.7 x 6.3 mm
Mold size: 6 x 11 cm
30 other products in the same category:
-
Pre-painted...
13,90 €
-
Pre-painted...
7,90 €
-
Pre-painted...
13,90 €
-
Pre-painted...
7,90 €
-
Set de...
48,90 €
-
Removable...
8,90 €
-
Pre-painted...
13,90 €
-
Pre-painted...
13,90 €
-
Pre-painted...
13,90 €
-
Pre-painted...
13,90 €
-
Silicone...
14,90 €
-
Silicone...
14,90 €
-
Silicone...
14,90 €
-
Sci-Fi...
15,90 €
-
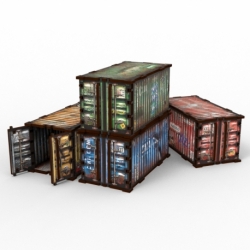
Pre-painted...
22,90 €
-
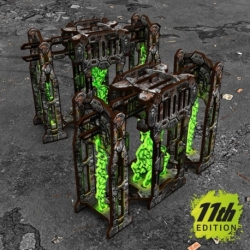
Pre-painted...
24,90 €
-
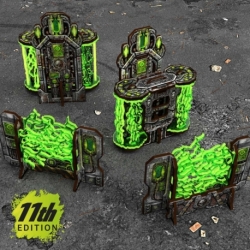
Plasma...
29,90 €
-
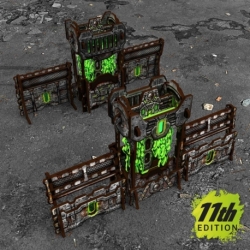
Power...
33,90 €
-
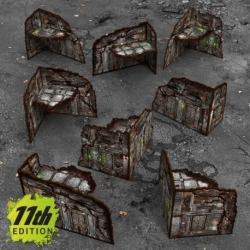
Pre-painted...
63,90 €
-
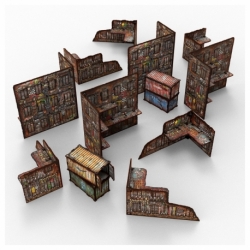
Pre-painted...
72,90 €
-
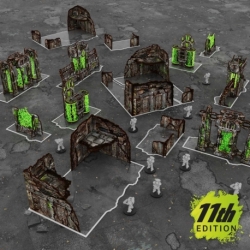
Pre-painted...
147,90 €
-

Heroscape...
51,99 €
-

Heroscape...
34,99 €
-

Heroscape...
22,99 €
-

3mm...
3,99 €
-

Modeling...
3,99 €
-

Moss -...
5,99 €
-

Moss -...
5,99 €
-

Oil Cans...
5,99 €
-
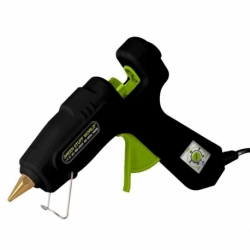
150w Hot...
21,99 €
